
1. Begin with the life the home needs to support
Before comparing exterior images, describe what a normal week will look like in the home. Will it provide independent space for a family member, become your main residence, or support a smaller household? Will someone work from home? How often will you welcome overnight guests? These questions give the floor plan a purpose and help you recognize which spaces matter most.
Write down three essential needs and three preferences. Essential needs might include a separate sleeping space, a practical entrance or a suitable place for everyday storage. Preferences might include the relationship between the dining area and the outdoor space. Keep this list beside the catalogue. It will help you compare the homes consistently instead of changing your criteria with every attractive image.
2. Build a shortlist from the published models
Polar Maxima’s Compact Homes collection includes Nordican, Luxor, Panorama, Mini Me and Maxi Me. The Homes collection includes Rustic, Legacy and MILLENIA. Start in the collection that best matches your intended use, then narrow the selection to two or three models. Review the published plans, dimensions and images together. An exterior rendering is useful for imagining the home, while the selected plan and order specifications identify what is supplied.
For example, Mini Me offers 560 square feet on a 20 × 28-foot footprint, while Maxi Me offers 640 square feet on a 20 × 32-foot footprint. The additional area is only one part of the comparison. Trace the route from the entrance to the kitchen, look at the sleeping area, and consider where your belongings would go. Ask which published layout fits your routines before deciding that a larger footprint is automatically the better choice.
3. Understand the catalogue approach
Polar Maxima offers the plans shown on the website and the options defined for each package. That means your selection begins with an existing model and its available choices. It is useful to discuss your priorities, but an inquiry should not assume that wall colours, appliances, equipment, wood types or room arrangements can be substituted beyond the listed options. Confirm the selections available for the particular model you are considering.
This approach makes a written selection list especially valuable. Record the model, the supported building format, the insulation package and each selected option in one place. If a feature appears in an image but is not identified in the package description, ask about it. The goal is to leave the discussion with a clear understanding of the home being ordered and the items included in the proposal.
4. Compare kit, panelized and modular formats
A knockdown kit brings components to the site for assembly. A panelized package brings preassembled panels that are joined on site. A modular format brings larger assembled building sections. These formats represent different ways of organizing the work; they should be discussed in relation to the selected model and the project location. Confirm which formats are actually offered for your model before comparing their scope.
Rather than asking only which format sounds fastest, ask what arrives, what remains to be completed on site and who is responsible for each task. Include delivery access, unloading space, staging and assembly in that discussion. A proposal for materials alone is not directly comparable to one that also includes defined site services. Clear descriptions make it easier to understand the practical differences between the available options.
5. Choose the insulation package with a complete comparison
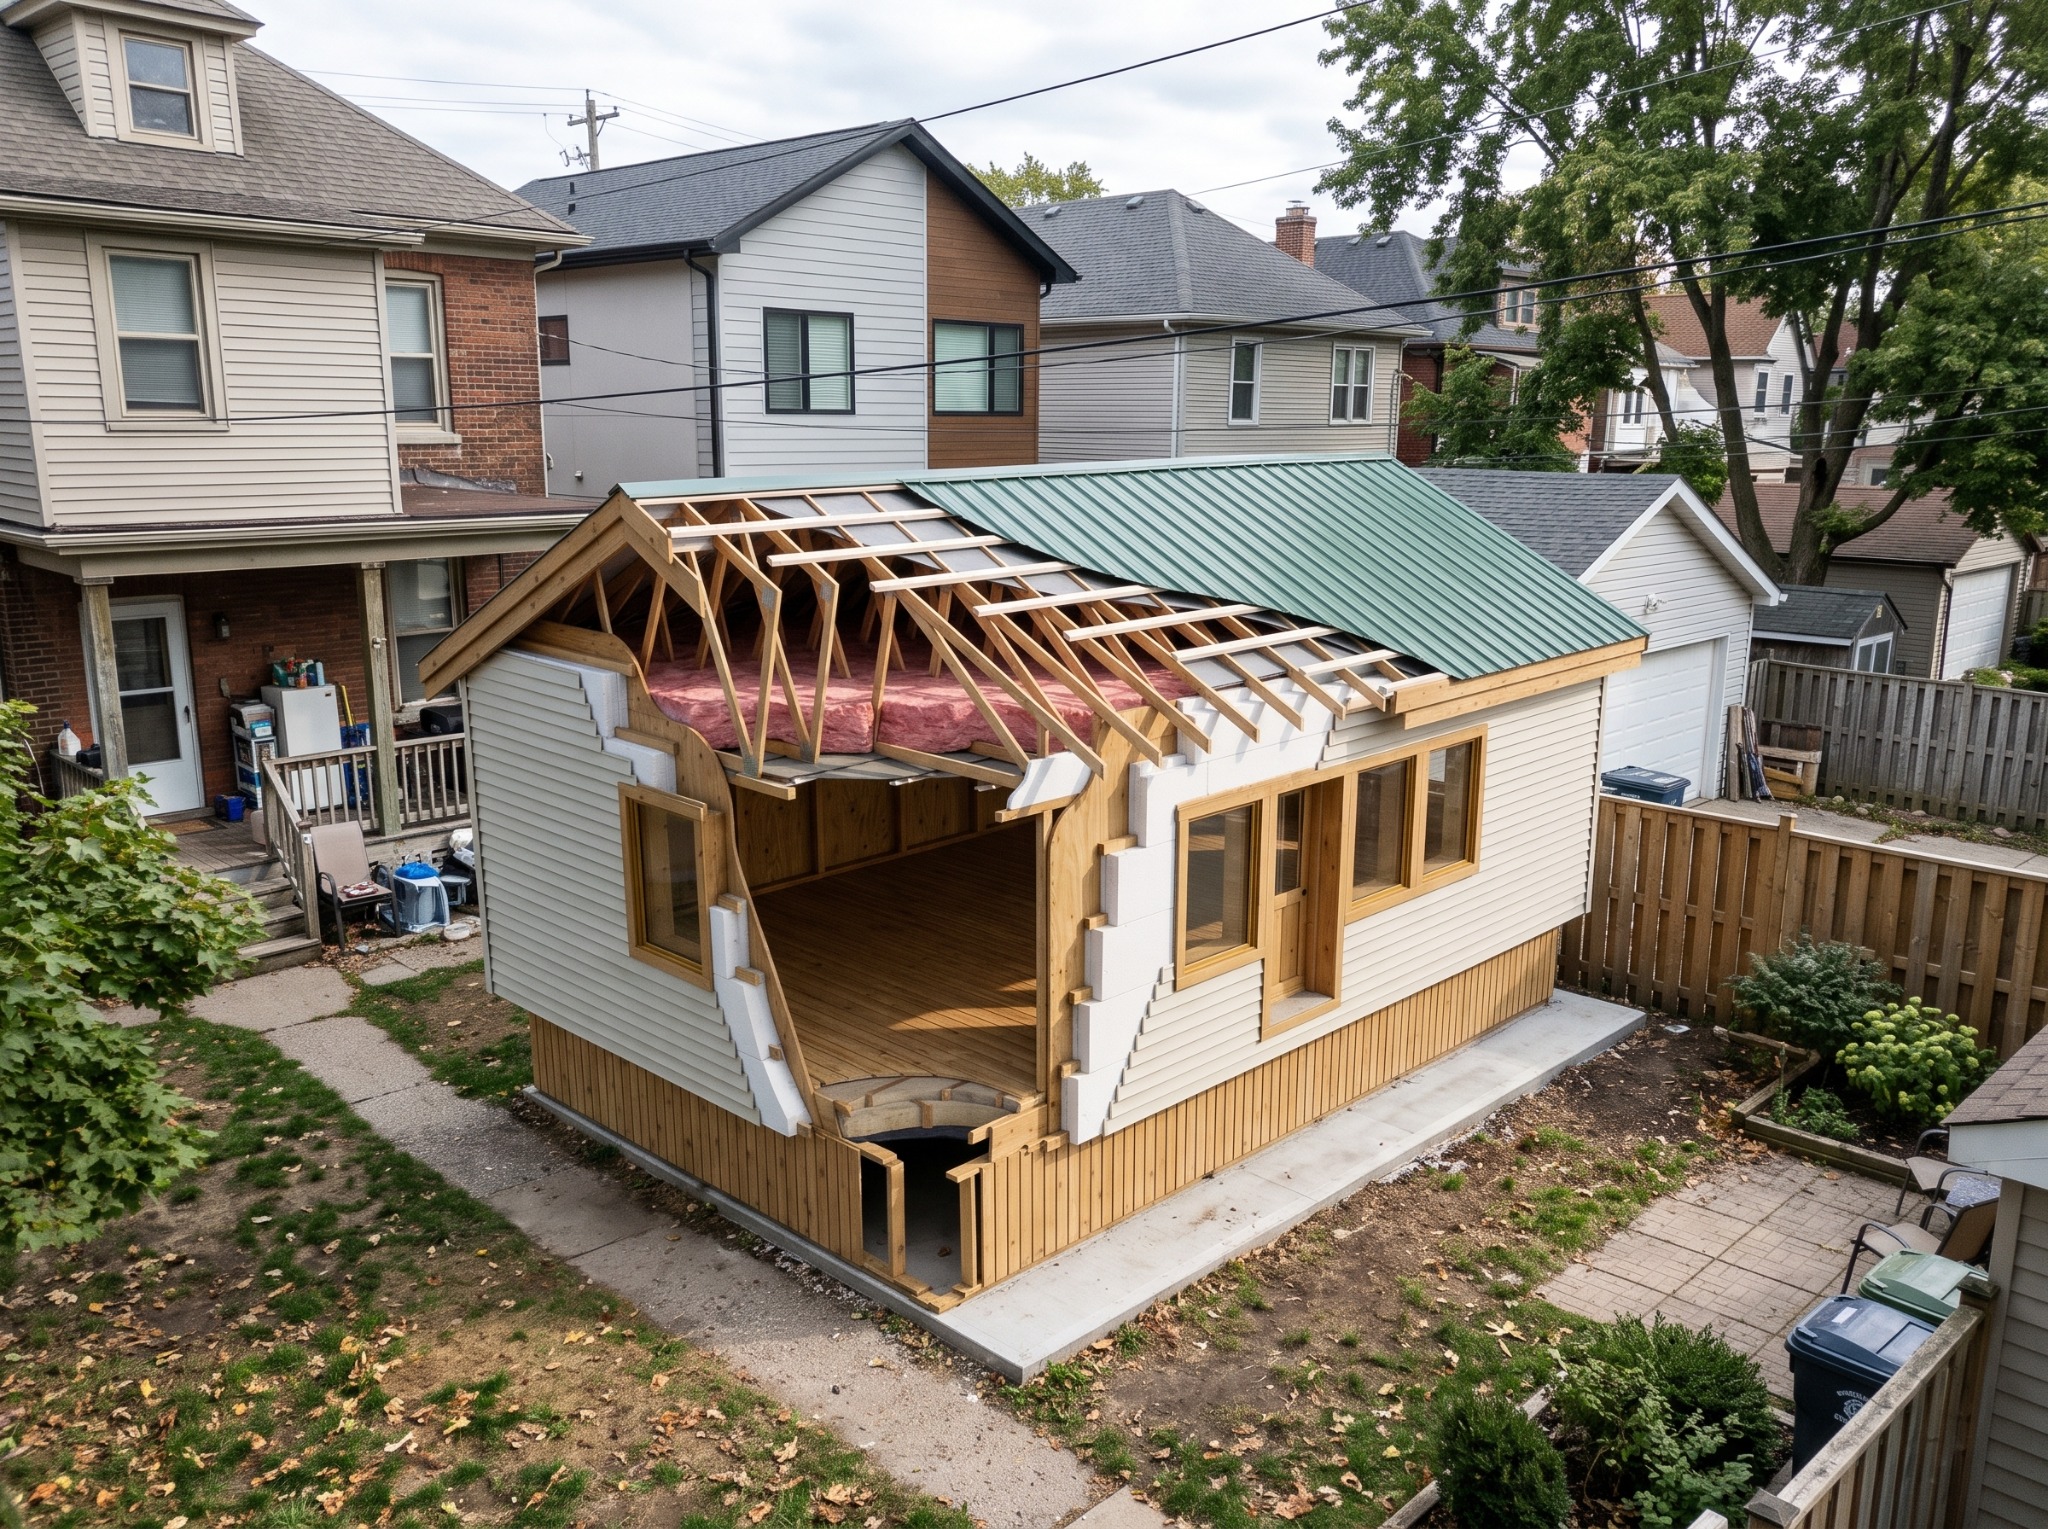
Polar Cub is included with the building package: walls R30, floor R35 and attic R60. Polar Bear is an optional upgrade with walls R40, floor R40 and attic R80. Polar Extreme is an optional upgrade with walls R60, floor R60 and attic R100. Compare the three parts together and identify the selected package in the proposal. An upgrade should be clearly distinguished from the included specification.
Bring the model and project location into the insulation discussion. Ask what changes in the offered package and how the selection is reflected in the written scope. A package comparison should help you make a documented choice, rather than encourage you to infer an exact utility bill from a single R-value. Keep the specification with your project records so that purchasing and assembly discussions refer to the same selection.
| Package | Walls | Floor | Attic | Selection |
|---|---|---|---|---|
| Polar Cub | R30 | R35 | R60 | Included |
| Polar Bear | R40 | R40 | R80 | Optional upgrade |
| Polar Extreme | R60 | R60 | R100 | Optional upgrade |
6. Review ADORA windows and doors alongside the plan
ADORA is the windows and doors offering within the Polar Maxima product family. When reviewing a model, locate the entrances, patio doors and windows on the plan. Consider furniture placement, access to outdoor areas and the everyday use of each opening. Confirm the product specifications that apply to the selected package instead of assuming that every opening has the same configuration.
Keep window and door information connected to the overall order. Ask which selections are included and which options are available for the model. Separate component sales are coming soon, so discuss current availability with the team if your interest is in an individual product rather than a building package. The home proposal should make the supplied products clear without requiring you to piece the specification together from several unrelated pages.
7. Connect the home to the actual property
Gather the property location, available site documents and photographs of the approach and intended building area. Identify what is known and what remains to be confirmed. Useful information includes access restrictions, nearby structures, room for unloading and the status of site preparation. For a garden suite or another additional dwelling, explain how you intend to use the building and its relationship to the existing property.
A catalogue model is a starting point for the building choice, not confirmation that a particular property is ready for it. Bring property-specific questions to the municipality and the professionals responsible for the project. Keep their information with the site brief. This gives the team a more reliable basis for discussing the building package and avoids allowing an attractive target date to get ahead of the decisions the property still needs.
8. Define ModuFlexx’s assembly scope
ModuFlexx provides on-site construction and assembly for kit, panelized and modular projects in Ontario and Quebec. Discuss its role in relation to the chosen format and the condition of your site. The important question is not simply whether assembly is available, but what work is included in your particular proposal and how it connects to the tasks handled by other participants.
Use a responsibility list to clarify site preparation, foundations, unloading, assembly and connections where applicable. Identify who confirms readiness at each handoff. Do not treat every task mentioned in a planning conversation as an included service; check the written scope. When the division of work is clear, changes can be discussed with the right person and the delivery plan can be coordinated with the people who need to be present.
9. Connect the delivery target to the payment milestones
The website’s calendar shows target delivery dates every three working days, Monday through Friday, starting June 1, 2027. Available dates are green and taken dates are pink. These dates are planning targets; holidays and project readiness are reviewed when scheduling the order. Use the calendar to begin the timing discussion, then connect the preferred period to site preparation and the assembly arrangements.
The payment sequence presented on the site is a 10% fully refundable reservation, an additional 40% prior to production, and the remaining 50% before delivery, before the kit, panels or modules leave the factory. Production is planned 45 days before delivery. The additional 40% brings the total paid to 50%; it is not a second 50% payment. Review the written terms and the project schedule together before proceeding.
10. Bring a useful project brief to the first conversation
You do not need to solve every question before contacting the team. A concise brief is enough to show where the project stands and what you need help clarifying. Include the following information, marking any undecided items as open questions. This keeps the conversation focused while leaving room to compare the options that are actually offered.
- Model or shortlist, intended use and essential space needs.
- Property location, site documents, photographs and access information.
- Preferred building format and insulation package.
- Listed options you want to discuss and questions about included products.
- Assembly responsibilities that are known and those still to be agreed.
- Target delivery period, site milestones and outstanding decisions.
Common questions
Is Polar Cub included?
Yes. Polar Cub is the included insulation package: walls R30, floor R35 and attic R60. Polar Bear and Polar Extreme are optional upgrades.
Can I request a completely custom floor plan?
Polar Maxima supplies published catalogue plans and their offered options. Review those choices with the team; unrestricted redesigns and substitutions are not part of the catalogue approach.
Does selecting a calendar date confirm my delivery?
No. The calendar supports planning. The order schedule must be reviewed with the team, including holidays, site readiness and the agreed scope.